

Die making notes
Use these notes to choose the right die material and finish your make-ready with less trial and error. Keep pressure, heat and relief balanced for cleaner foil transfer.
Start with the job
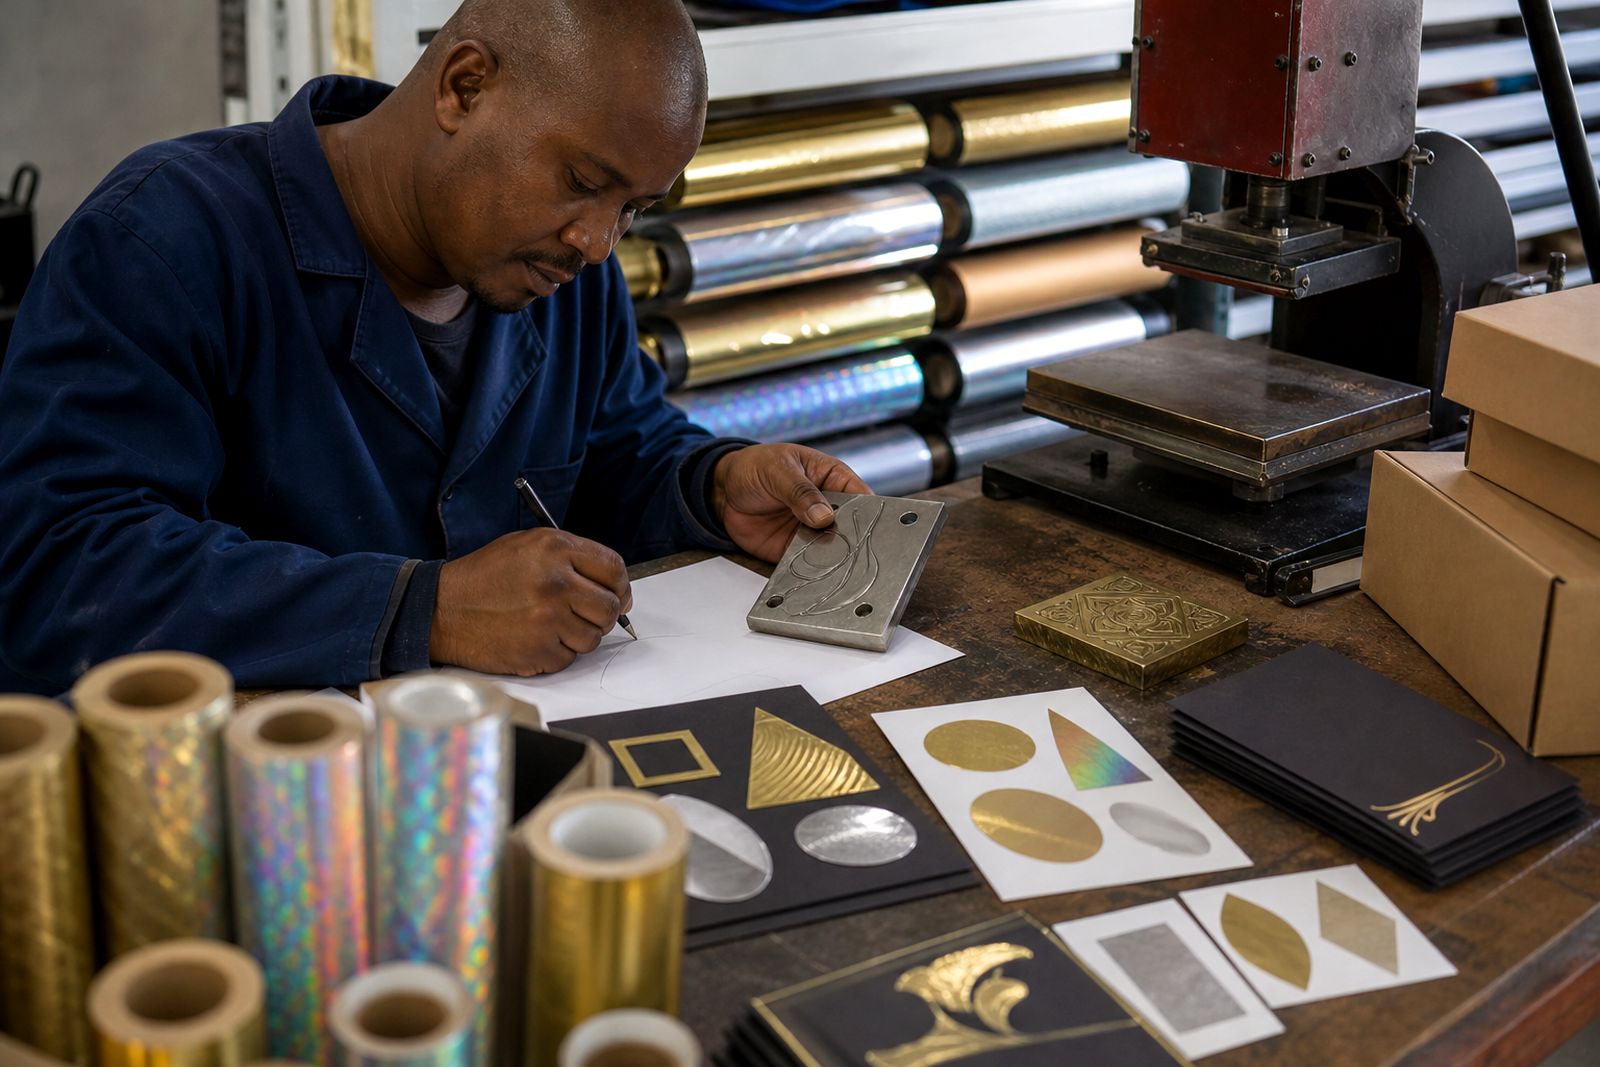
Die choice starts with the substrate, the foil and the press. A fine line on coated board will need a different approach from broad solids on leather, plastics or soft-touch laminate.
For hot stamping on cartons, labels, book covers and leather goods, check the artwork for line weight, solid areas and any fine detail that may need extra relief. If the job includes metallic foil, pigment foil or holographic foil, make sure the die will hold detail without over-crushing the film. For related setup notes, see the press settings sheet and Substrate compatibility chart.
Brass or magnesium
Brass dies are the usual choice when a longer run, finer detail or tighter control is needed. They hold engraved detail well and suit more demanding make-ready on platen, cylinder and roll-to-roll presses.
Magnesium dies are often used for shorter runs and simpler work. They are quicker to prepare, but they usually need more care with pressure and heat, especially where the foil must release cleanly into fine text or narrow rules. For deeper relief or harder substrates, brass generally gives more control than magnesium.
| Die type | Typical use | Practical note |
|---|---|---|
| Magnesium | Shorter runs, simpler artwork | Keep detail open and avoid over-pressure |
| Brass | Longer runs, fine detail, deeper relief | Better for tighter control and repeat work |
Set the relief
Relief is there to help the foil release where it should, and not where it should not. If relief is too shallow, the die can pick up foil at the edges or mark the substrate. If it is too deep, small details may not transfer fully.
As a practical check, look for even contact across the image area and clean separation at the non-printing edges. On coated board and soft-touch laminate, a slightly higher relief and careful make-ready often help reduce scuffing. On leather and textured plastics, relief should still allow the grain to show through without starving the image.
Test before the run
Use a short test pull before the full job. Start with a typical foil temperature range for the material and adjust from there. Exact settings will vary by substrate, foil type, die material and press condition.
- Check the first pull for complete release and crisp edges.
- Look for over-inking, pinholes or missing solid areas.
- Confirm dwell and pressure before increasing heat.
- Inspect the die face, makeready and foil route after each change.
If the result is weak, review pressure and dwell before chasing temperature. If the foil is too soft or smears, back off and retest. For more setup help, see the troubleshooting index and QA checklist.
Finish the make ready
Good make-ready keeps the die flat, the pressure even and the foil route clean. Trim any loose packing, confirm the chase or cylinder mounting, and make sure the image sits square to the web or sheet.
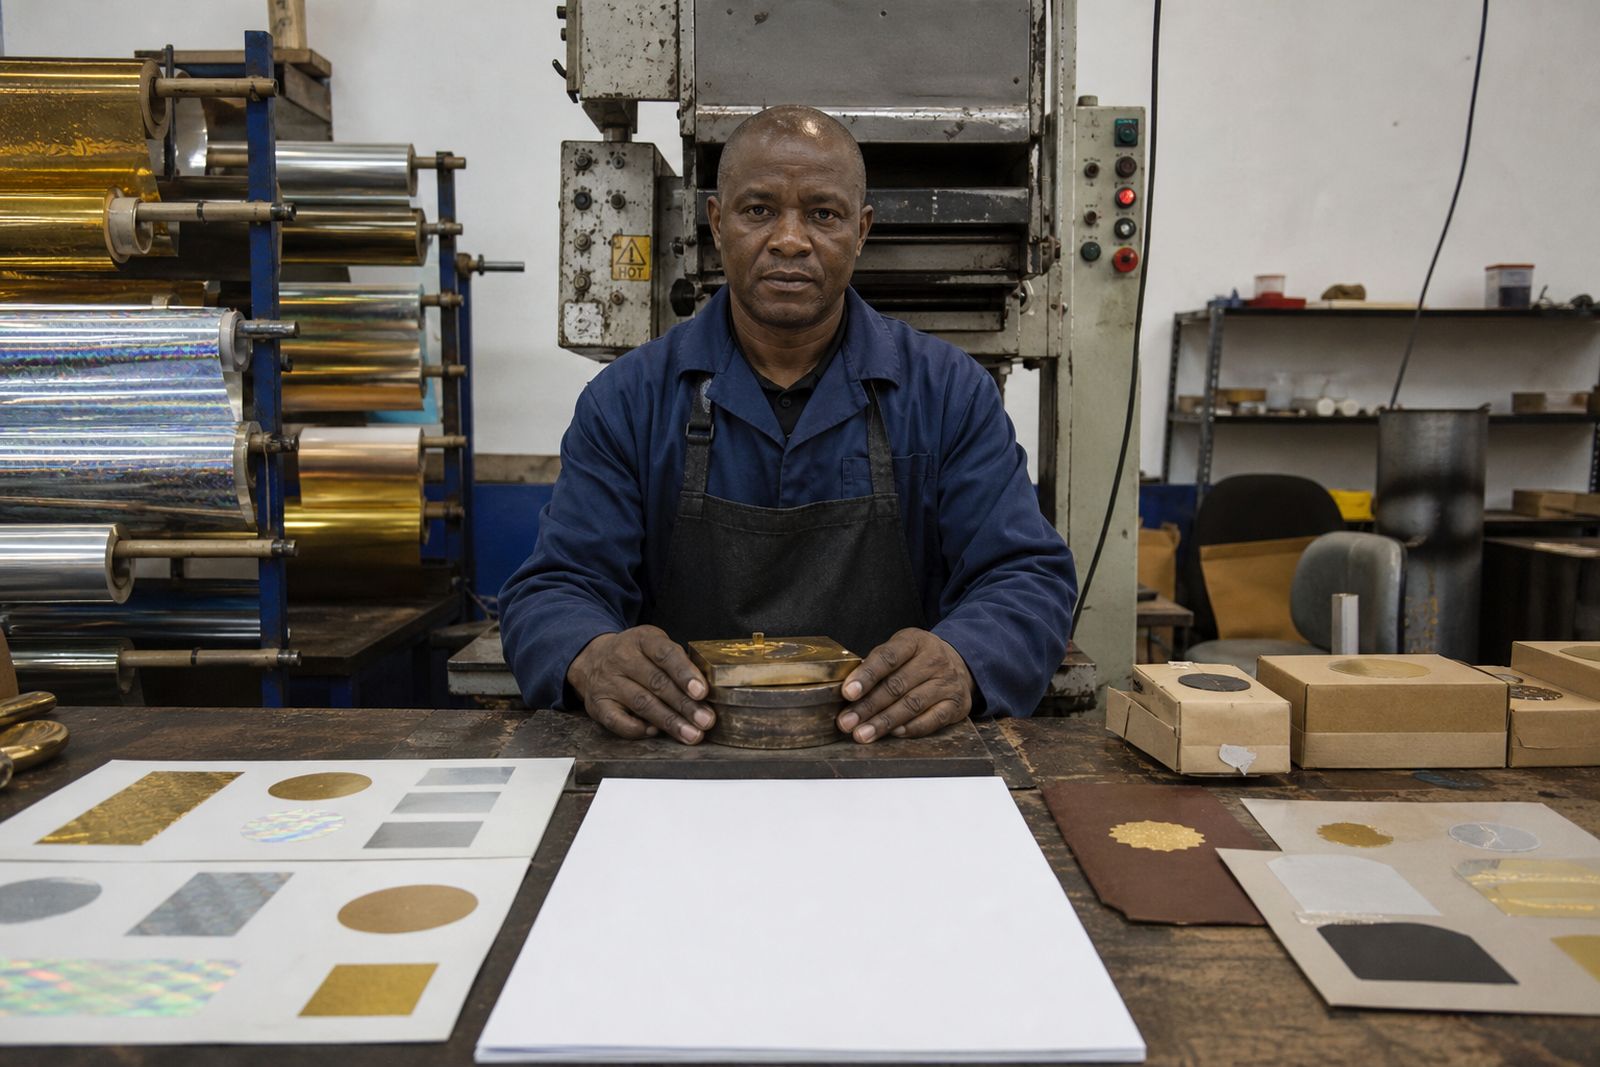
Keep swatch books and sample pulls nearby so the operator can compare colour, coverage and release from one setup to the next. If the job needs a specific foil family, use the foil selection guide and Sample book index with press-side notes. For extra help on matching a foil to the substrate, ask for advice through the contact form.
What our Hot Stamping Foil customers say
Verified Google reviews
Also worth a look
Ask about a foil for your job
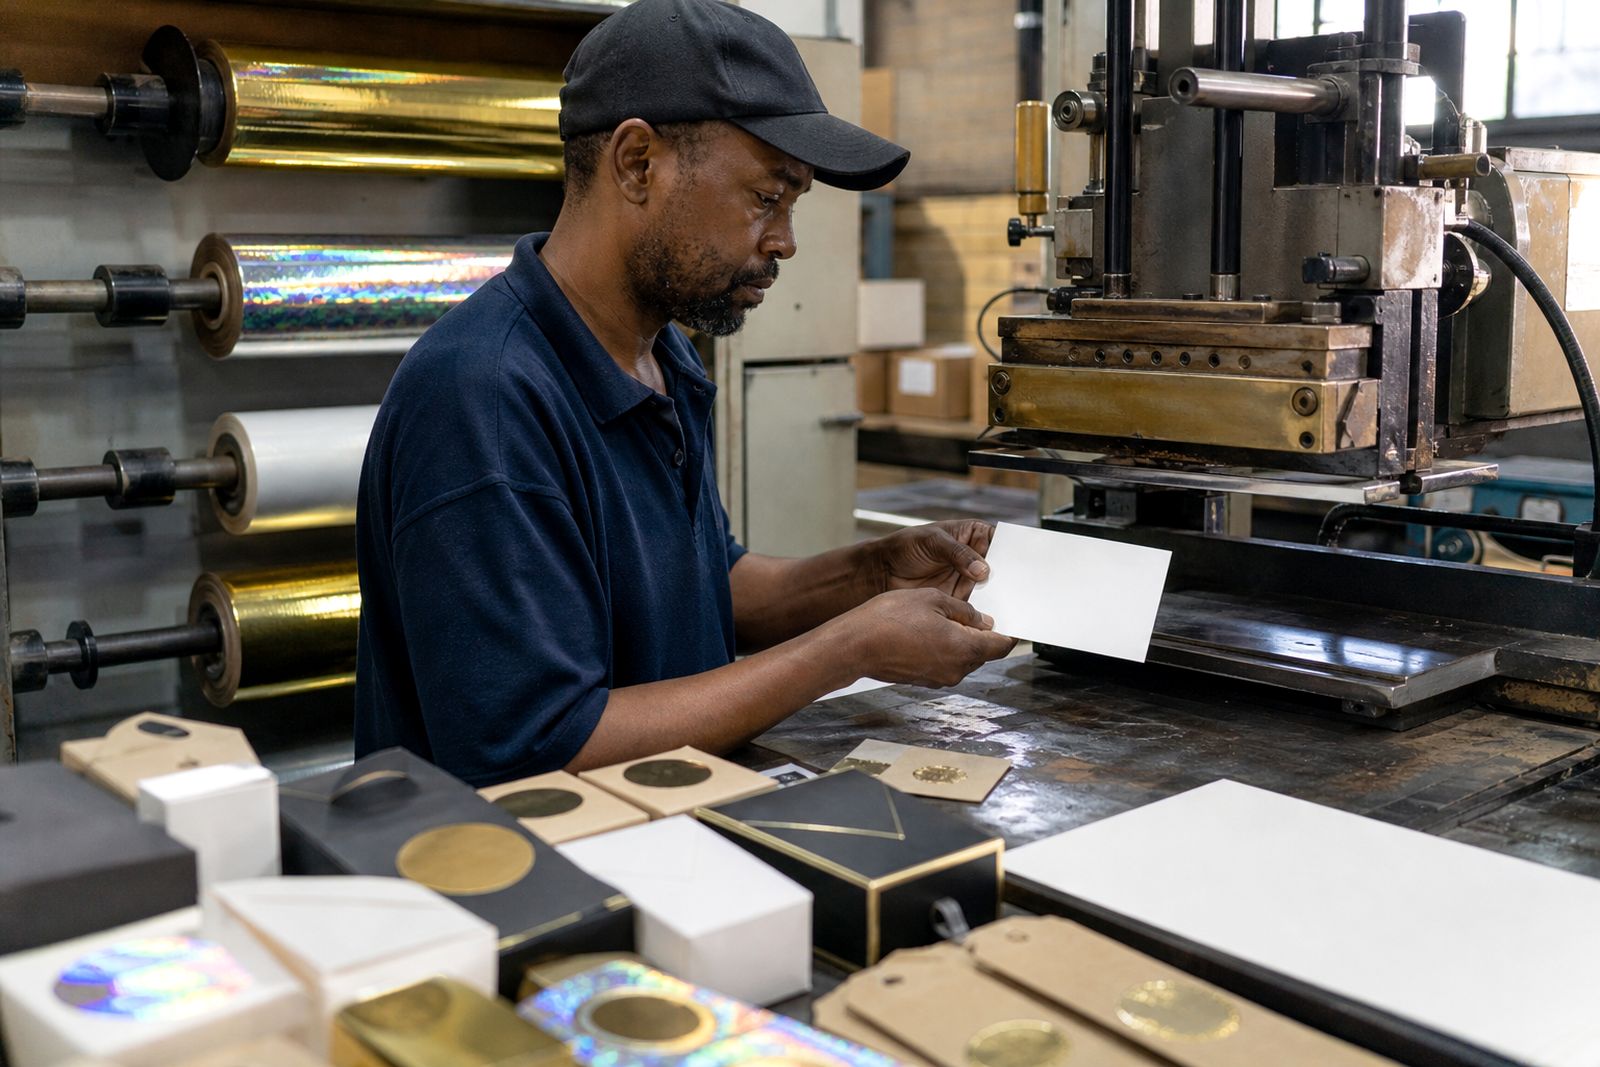
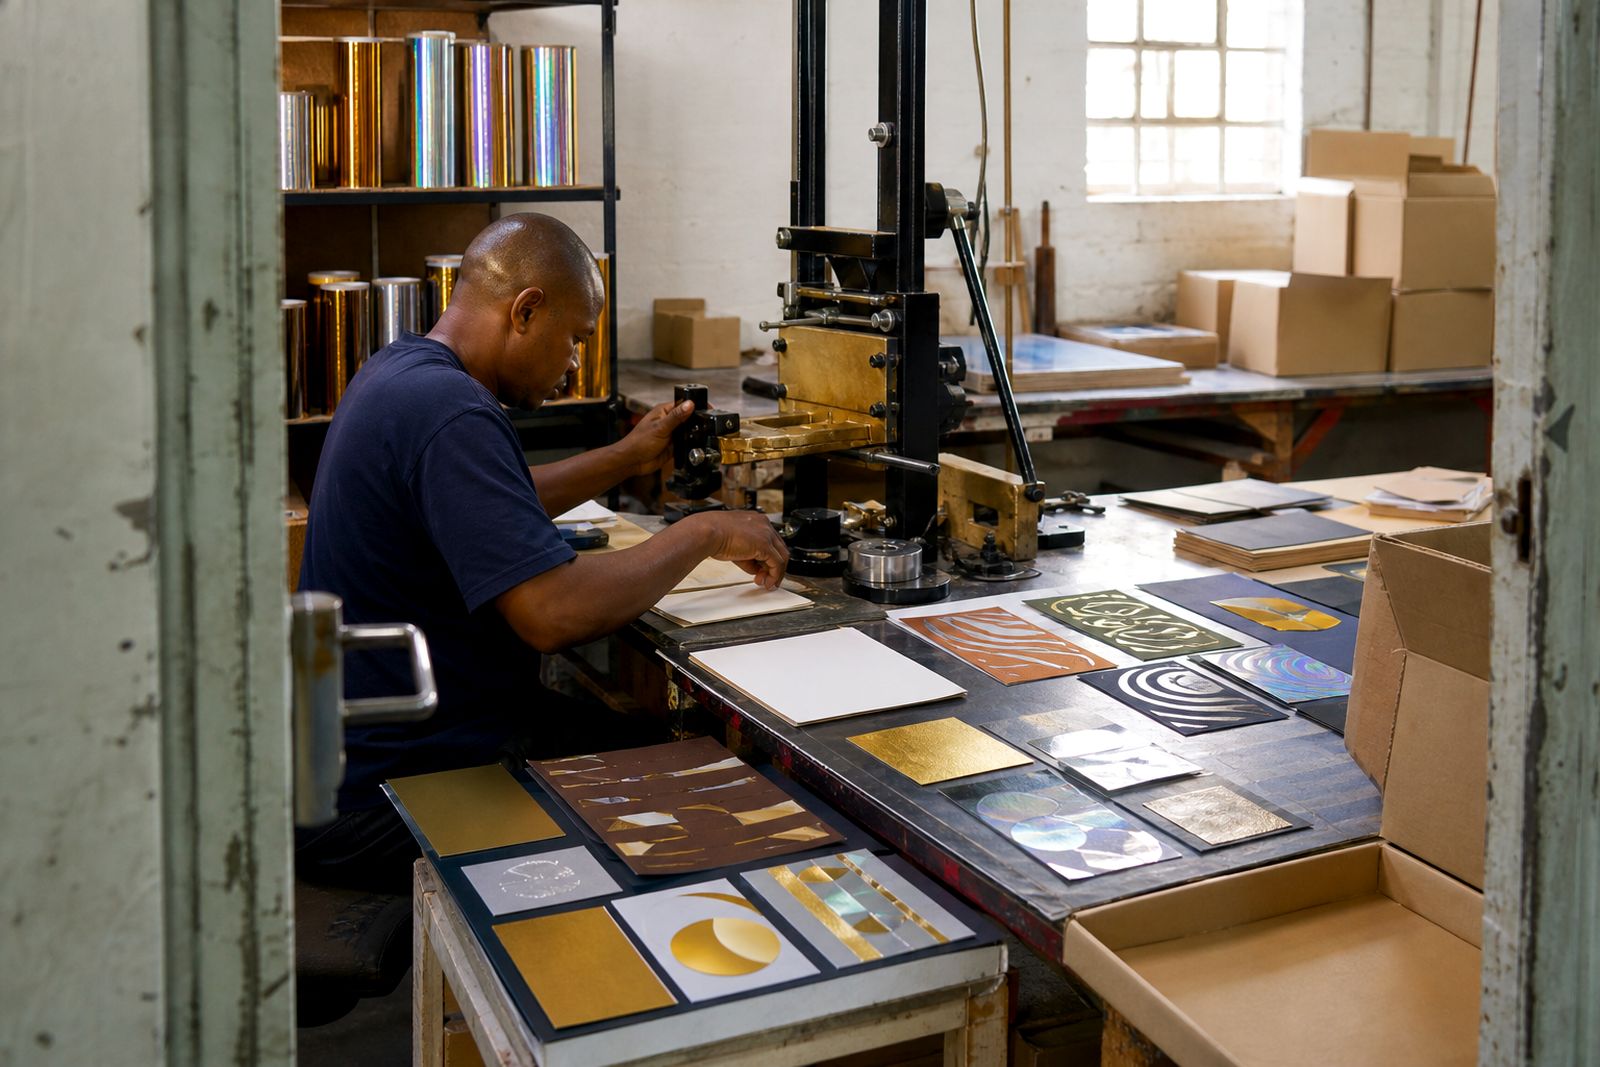
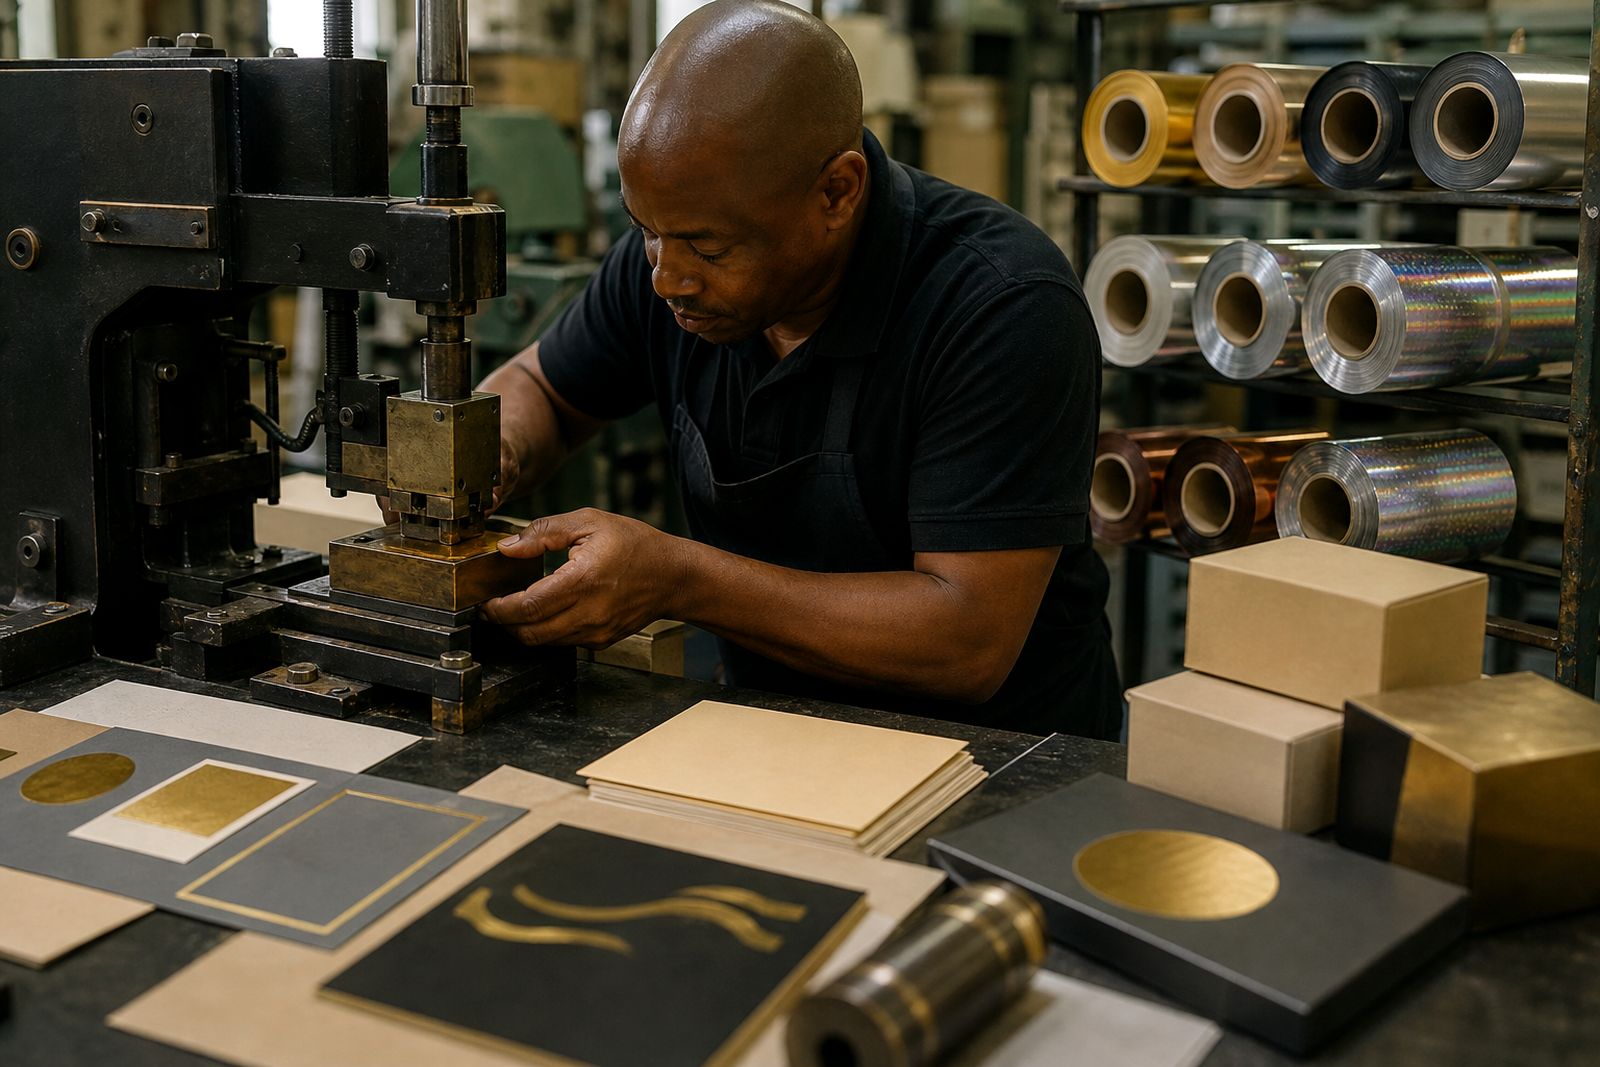
Send a note through our contact form with the substrate, the press you run (platen, cylinder or roll-to-roll), the finish you are after and the run length, and we will come back with a foil grade, a sample and a quote.
Open the contact form