

Leather products
Leather needs the right foil, the right die and careful set-up. Here is practical guidance for hot stamping on wallets, bags, belts and footwear components.
Foils that suit leather
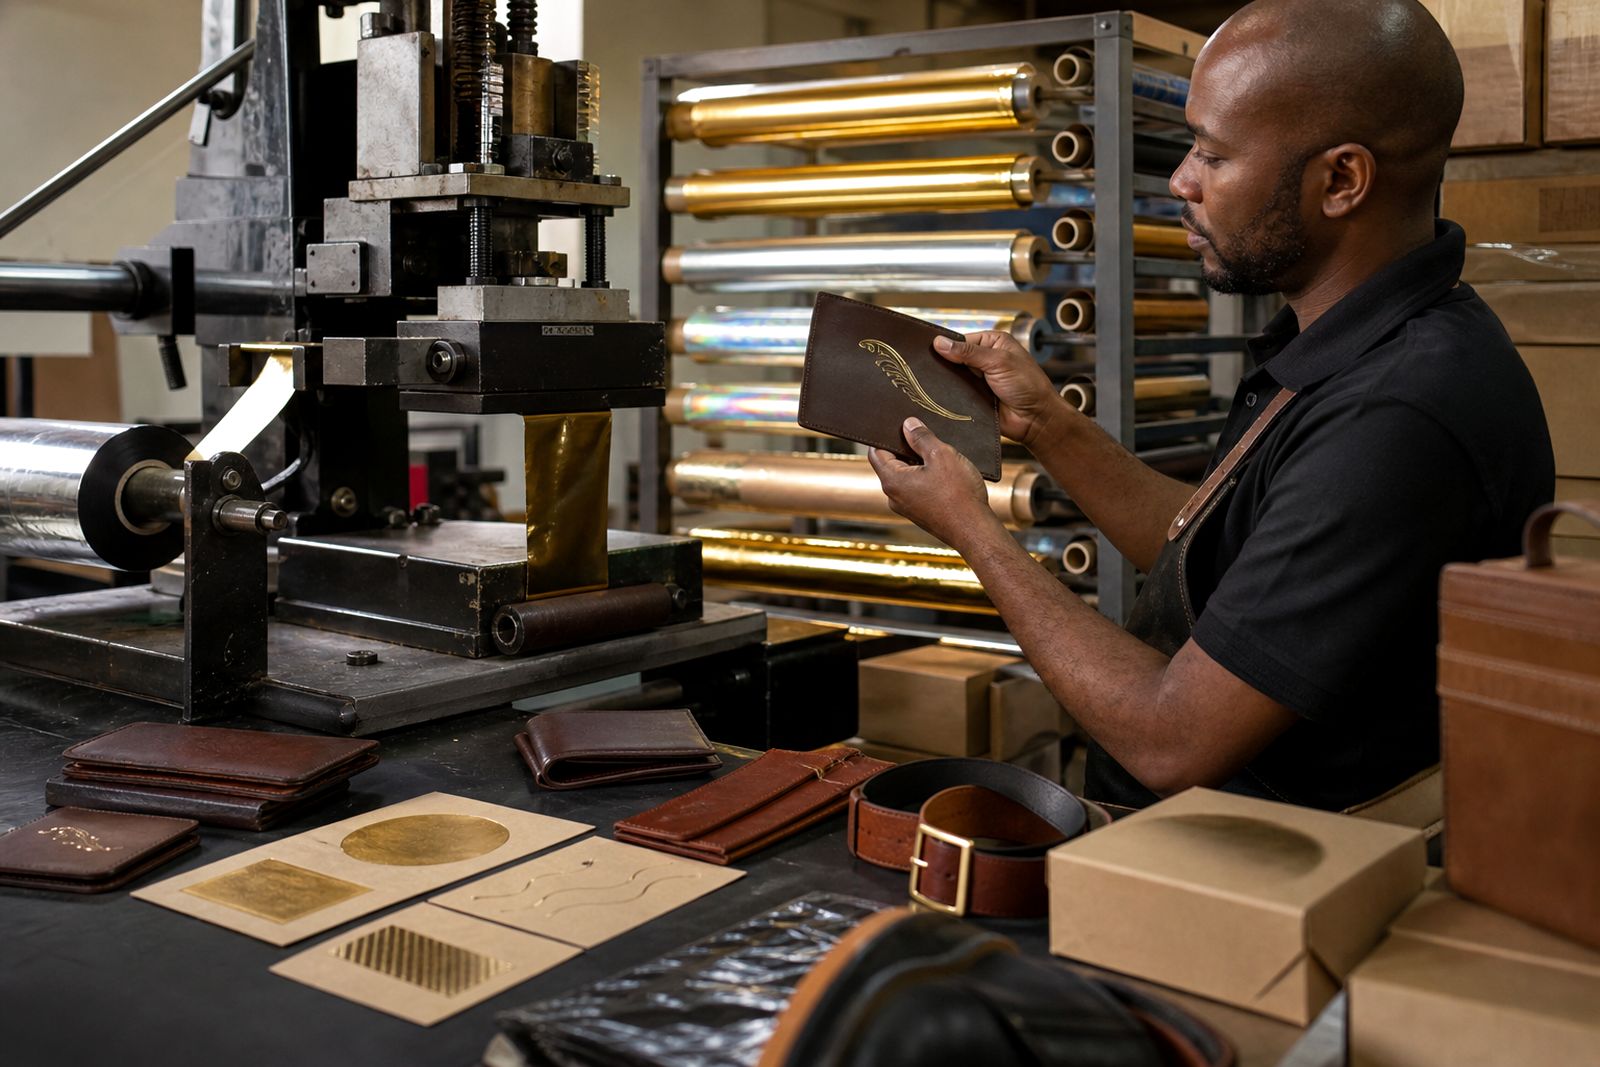
Leather products often need a cleaner, more controlled finish than many other substrates. For wallets, bags, belts and footwear components, the usual starting points are metallic foils in gold, silver, copper, bronze, mirror or satin, or pigment foils where a solid black, white or process colour is needed.
For a stronger decorative effect, holographic and diffraction foils can be used on selected panels and trims. Security foils and specialty foils may be suitable where the brief calls for a more distinctive mark or a particular surface response. On softer grains and textured leathers, test the foil against the actual material, not just a sample card.
Ask for swatch books and samples before committing to a run. If you need help matching a colour tone or finish, send a request through the contact form and include the substrate description, whether it is genuine leather or a coated alternative, and the press type.
Match the die to the job
Die choice matters because leather surfaces can vary from smooth to heavily grained, and some edges hold detail better than others. Magnesium, copper and brass dies all have their place, but the right choice depends on the line detail, the area to be stamped and the press being used.
- Magnesium is often used for simpler work and short make-ready times.
- Copper is useful where more durable tooling is needed.
- Brass suits detailed work and repeat use where surface definition matters.
For wallets and bags, keep logos and small type bold enough to transfer cleanly on grain. For belts and straps, check the length of the image against the tension and flex of the finished article. For footwear components, allow for shaped panels, seams and stitched edges when setting the die position.
Set up the press correctly
Leather foil work can be done on platen, cylinder and roll-to-roll presses, but each setup needs its own checks. Start with a test window rather than moving straight into production. Typical starting ranges depend on the foil and substrate, so test temperature, dwell, pressure and release profile on the actual material before committing to the full job.
Good make-ready is essential. Make sure the plate, chase, substrate support and packing are all even. Uneven pressure can cause patchy transfer, edge loss or a dull mark. If the article is curved or has sewn sections, test how the piece sits under pressure before final production.
For slit-to-width supply, the roll width should suit the web or the manual feed route so the foil tracks cleanly and waste is kept down. If you are unsure about the right starting settings, use the contact form and ask for press-side advice.
Check the substrate and finish
Leather is not a single surface, so every job should begin with a substrate check. Confirm whether the article is natural leather, coated leather, PU or another leather-like material. Some finishes accept foil well, while others need more careful testing because surface coatings, sealers or waxy topcoats can affect release and adhesion.
Soft-touch laminate and other coated surfaces used on related products can behave differently from untreated leather. Where the same artwork must appear on mixed materials, test each one separately. A foil that works on one panel may not transfer the same way on another.
| Check | Why it matters |
|---|---|
| Surface grain and coating | Affects adhesion and image clarity |
| Panel shape and seams | Affects pressure and die contact |
| Flex after stamping | Checks whether the mark holds through use |
Avoid common faults
The most common problems on leather are incomplete transfer, scuffing, over-pressing and poor edge definition. Incomplete transfer often points to a cold setup, insufficient dwell, uneven pressure or a foil that is not matched to the surface. Scuffing may come from handling too soon after stamping or from a release profile that is not clean enough for the substrate.
Over-pressing can flatten grain or leave a heavy impression that the client may not want. If the finish looks patchy, check whether the die face is even, whether the article is seated properly, and whether the foil width is correct for the image area. For small logos on belts and trims, clean die edges and accurate registration are especially important.
Where the job involves mixed applications such as Textiles & Apparel, Plastic Parts or Packaging & Boxes, test each substrate on its own terms before sharing settings between them.
Plan the run
Before production, confirm the artwork size, image placement, press type and substrate finish. Keep a sample marked for the approved settings, then use it as the reference during the run. If the job includes multiple leather components, group them by thickness and surface type so the settings stay consistent.
For related work on labels, book covers or cartons, see the relevant application pages such as Labels & Stickers, Books and diaries and Cosmetics Cartons. For broader material guidance, visit Applications or go to the contact form to ask for samples, swatch books or advice on a specific leather job.
What our Hot Stamping Foil customers say
Verified Google reviews
Also worth a look
Ask about a foil for your job
Send a note through our contact form with the substrate, the press you run (platen, cylinder or roll-to-roll), the finish you are after and the run length, and we will come back with a foil grade, a sample and a quote.
Open the contact form