

Leather stamping basics
Leather needs a softer approach than paper or board. The right foil, die and make-ready help keep grain intact and the image clean.
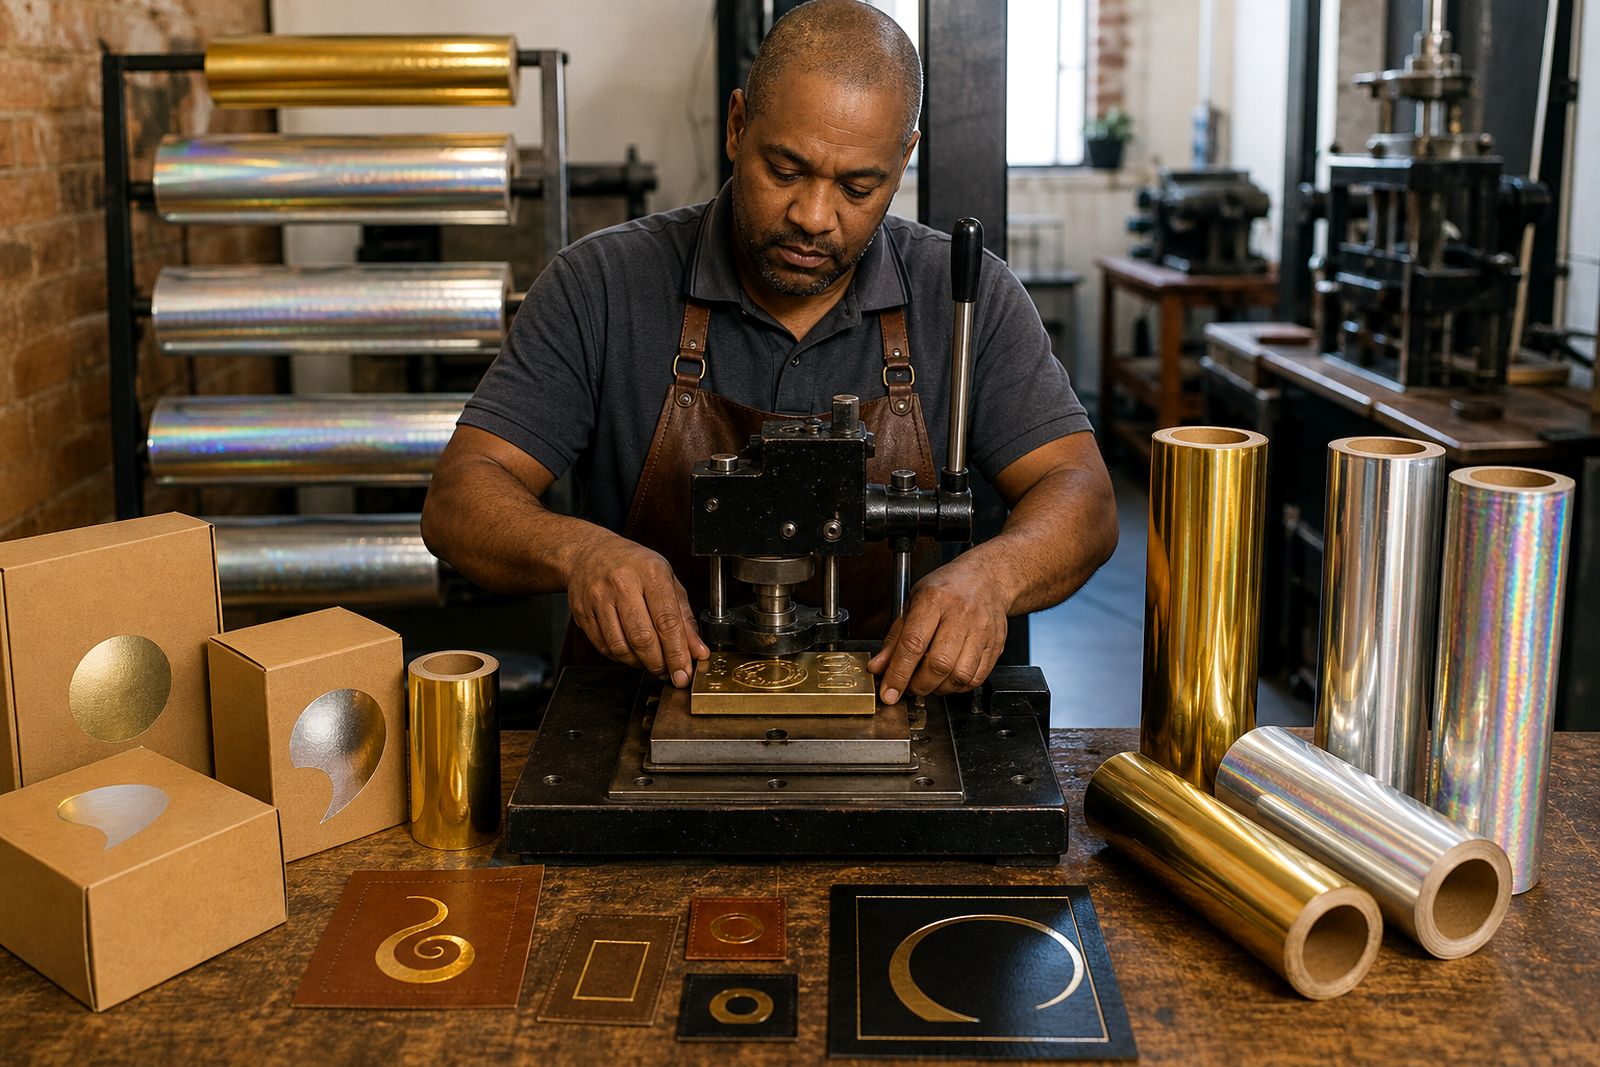
Set the heat lower
Leather is not a flat, uniform sheet, so the first test should always be on the exact material you plan to stamp. Grain, coating, finish and thickness all change how the foil releases and how much pressure the die needs.
For smooth leather goods, a metallic foil can give a sharp mark, while pigment foil is useful when you need a solid black or white imprint. For decorative work, holographic, diffraction and specialty foils can also be tested on leather, depending on the finish and surface texture.
If you need help choosing a foil type, compare options on products or ask for swatches and samples through the contact form.
Choose the right die
Leather usually needs a lower heat approach than coated board or carton work. Start in a modest temperature window and increase only as needed, because too much heat can flatten grain or give a harsh edge to the impression.
The correct setting depends on the leather type, the foil and the press. A clean result often comes from testing small changes in temperature, dwell and pressure together rather than changing only one setting at a time.
- Start with a short test strip and check the release
- Use the least pressure that gives full coverage
- Watch for scorching, shine change or grain crush
- Keep notes for each leather and foil combination
For more on process settings, see temperature windows explained and choosing release profiles.
Match the press
The die matters as much as the foil. For leather, dies that press too hard can damage the grain, while a well-prepared die helps transfer the image without crushing the surface.
Magnesium, copper and brass dies each have their place, depending on the design detail, run length and press setup. Fine detail, solid fills and textured areas may all behave differently, so die prep and artwork quality should be checked before production.
A quick checklist can save time on press. See die prep checklist for the basics, and keep your press-side notes with the sample.
Test before production
Leather work can be done on platen, cylinder and roll-to-roll presses, but each press type asks for different make-ready. The main aim is even contact without over-compressing the material.
On platen work, small changes in packing can affect the finish quickly. On cylinder and roll-to-roll presses, consistent web control and foil feed are important, especially when the substrate has stretch or surface variation.
| Press type | What to watch |
|---|---|
| Platen | Pressure balance, packing, dwell and die contact |
| Cylinder | Even transfer, speed control and release consistency |
| Roll-to-roll | Web tension, foil feed and repeat stability |
If your job also involves labels, cartons or soft-touch laminate, compare notes with foil on soft-touch and narrow-web label tips.
Test before production
Before a full run, test the exact leather, die and foil together. A small sample should show whether the release is clean, whether the edge is sharp, and whether the grain stays intact.
Use swatch books and press-side advice to narrow down the right combination. Stampingfoil can supply slit-to-width foil rolls, samples and guidance on the practical settings that matter most for leather, including temperature, dwell, pressure, release profile and make-ready.
For related finishing ideas, see key types of gold stamping foil or return to Journal. If you want a sample or need help with a leather job, use the contact form to ask for a quote.
What our Hot Stamping Foil customers say
Verified Google reviews
Also worth a look
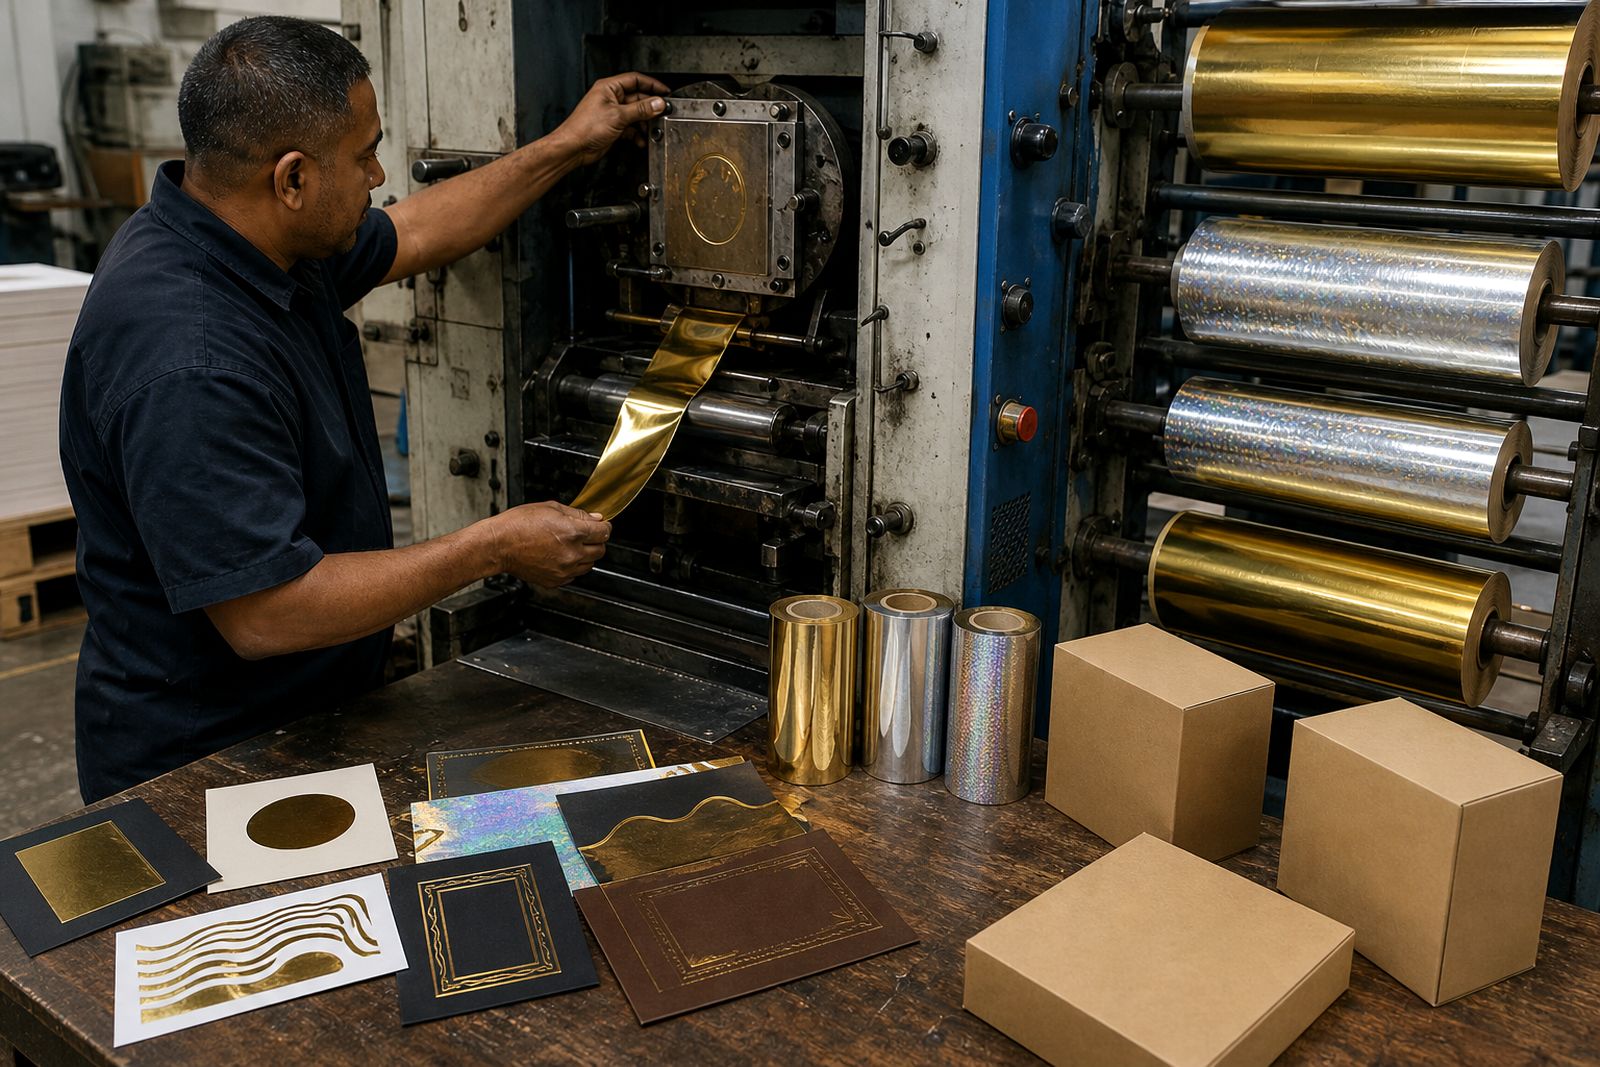
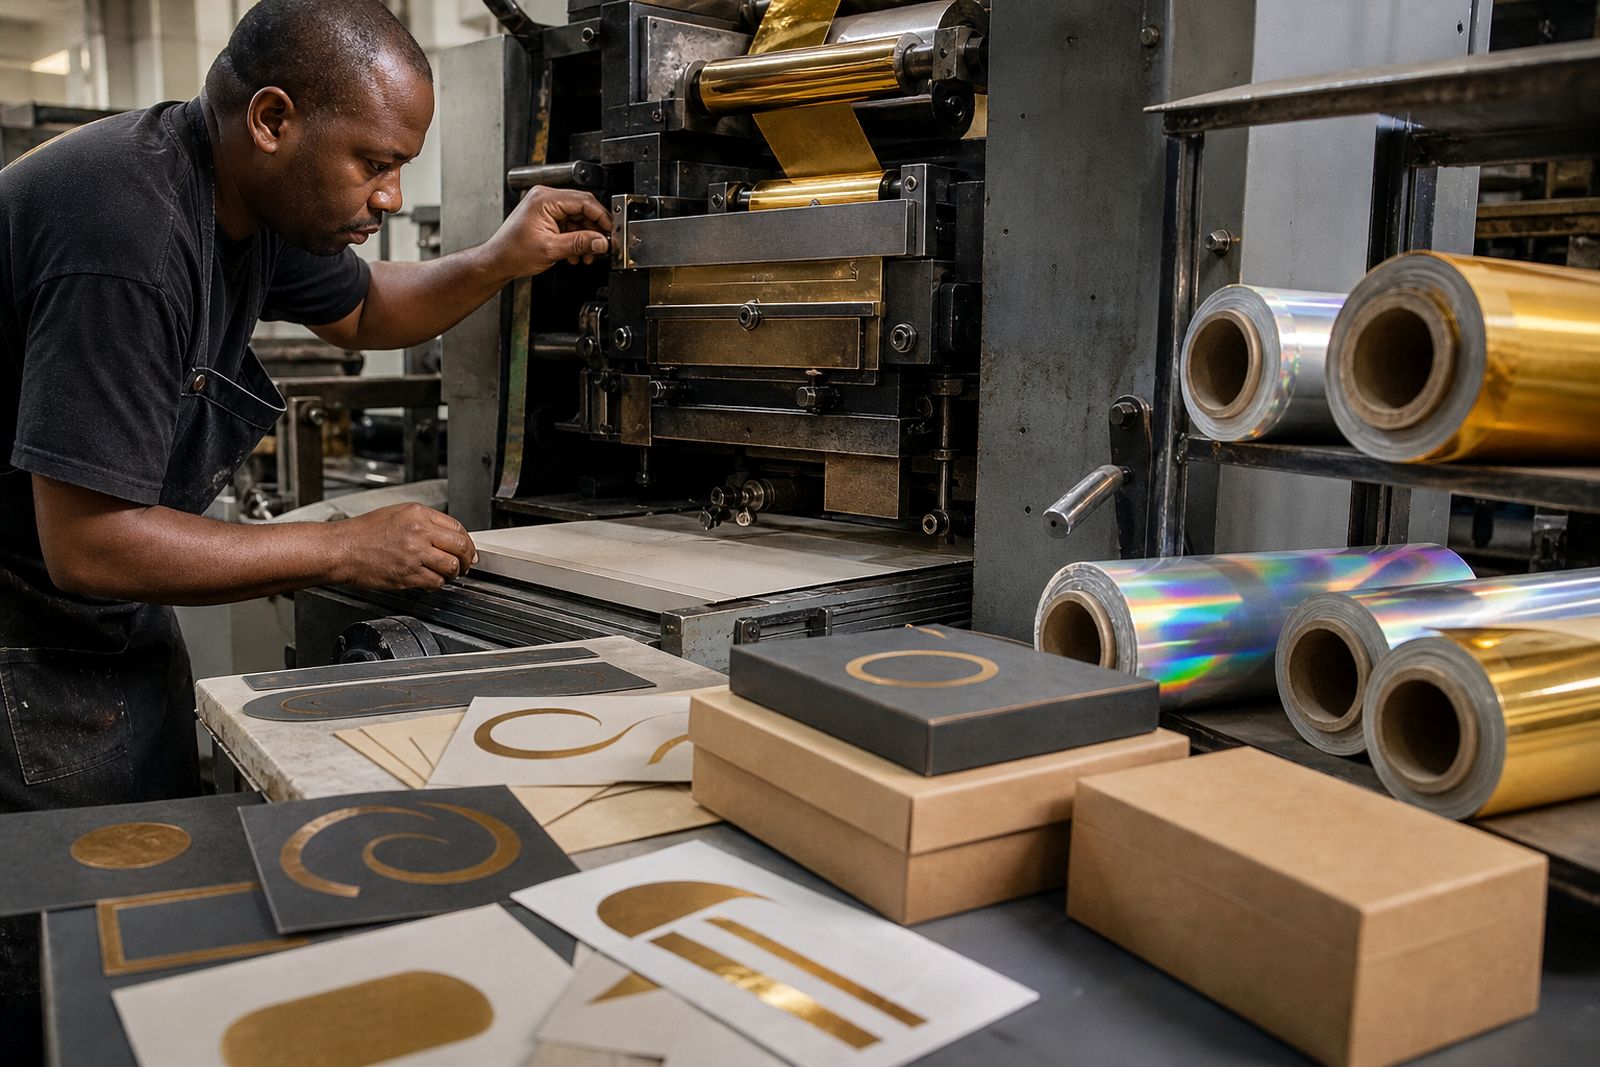
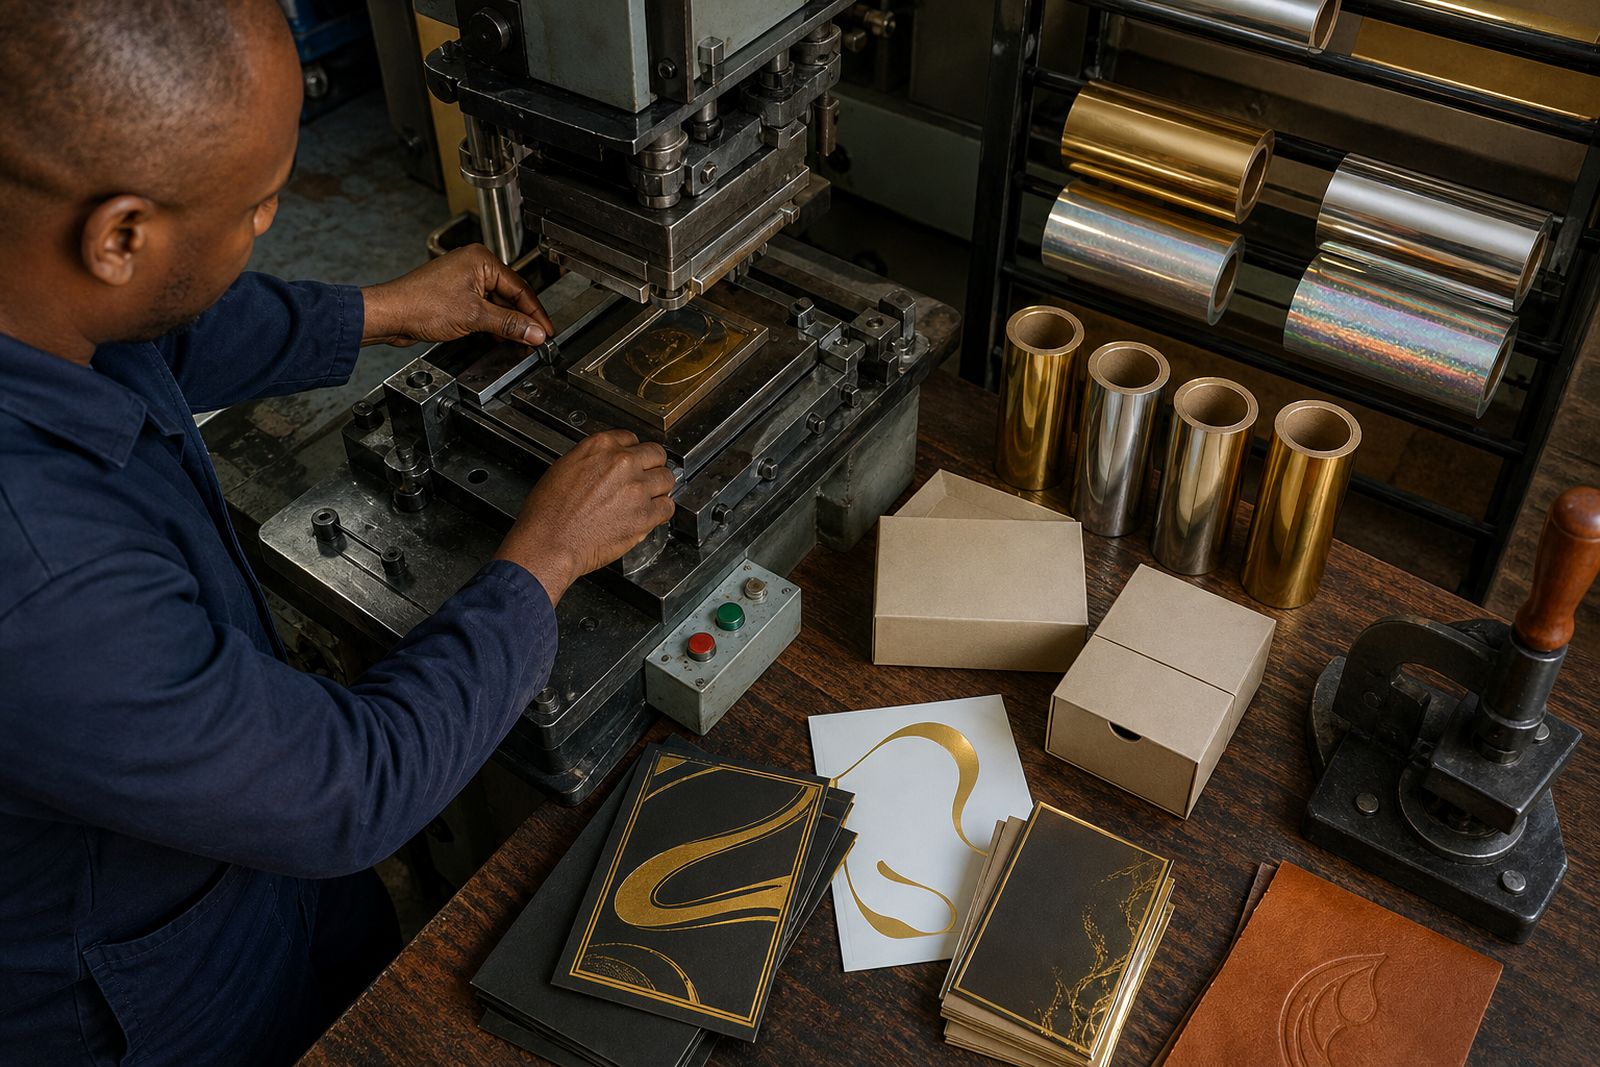
Ask about a foil for your job
Send a note through our contact form with the substrate, the press you run (platen, cylinder or roll-to-roll), the finish you are after and the run length, and we will come back with a foil grade, a sample and a quote.
Open the contact form