

Die prep checklist
Before the first sheet, check the die, the press and the substrate. Small setup mistakes show up fast in foil.
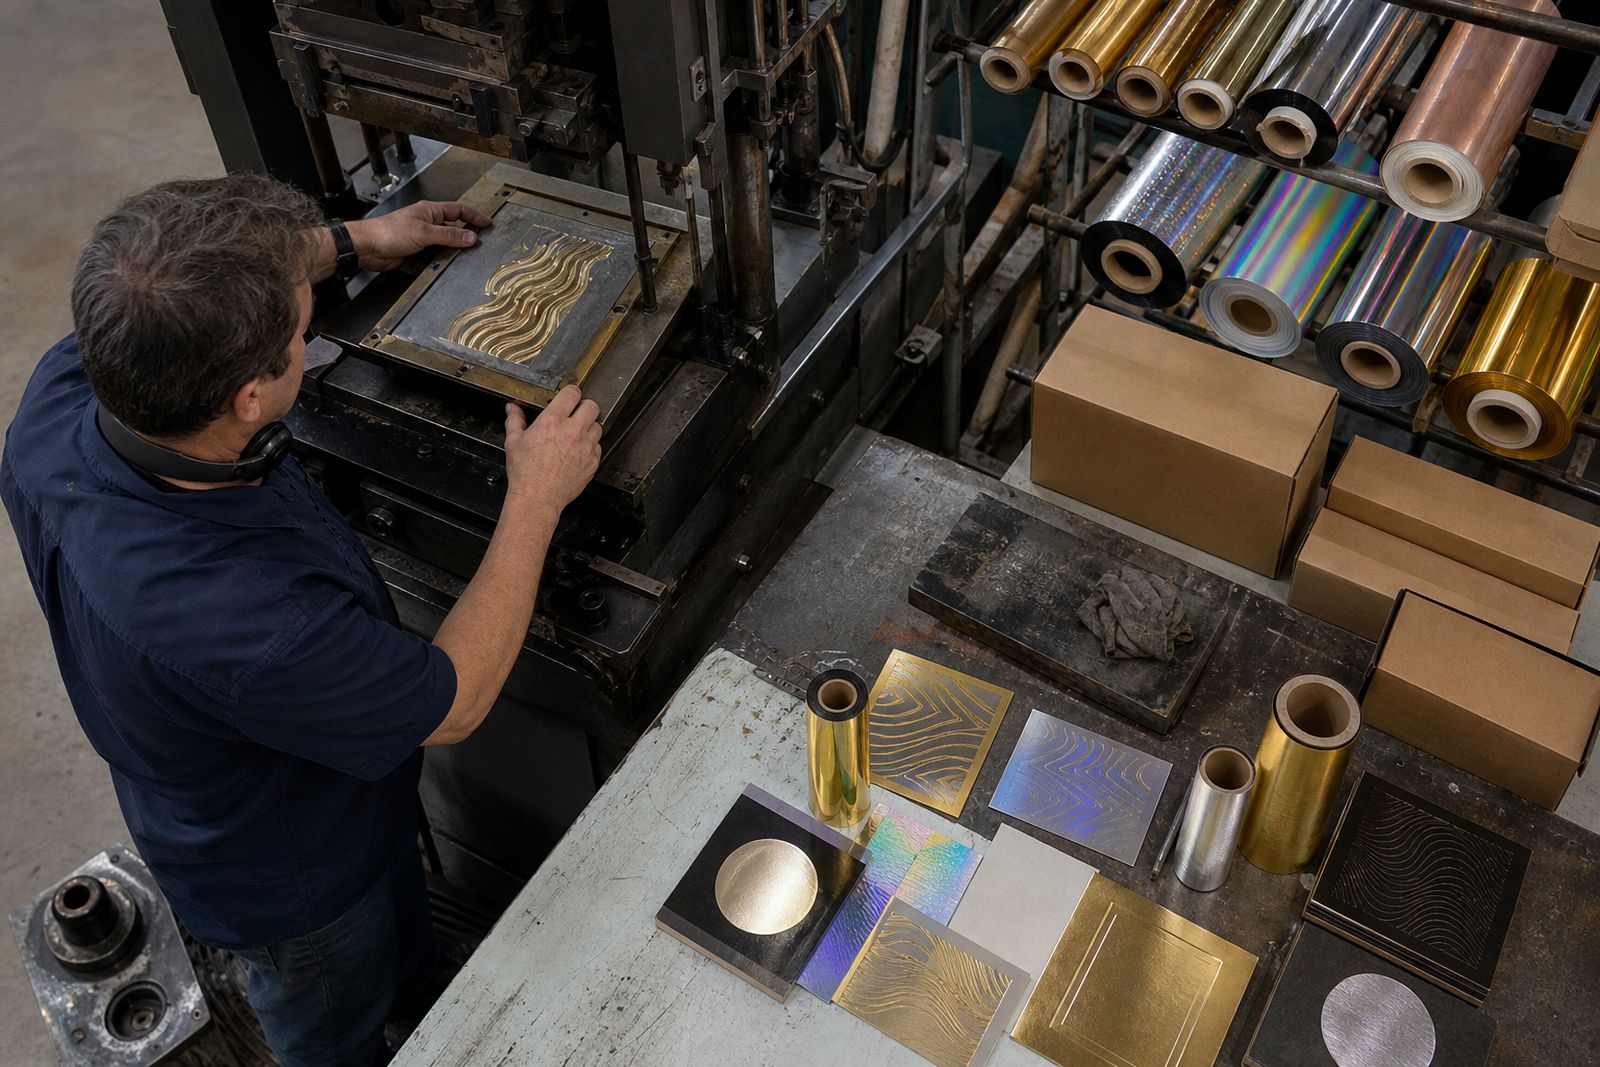
Start with the die
A good result starts with the relief on the die. Before make-ready, confirm that the image is clean, sharp and deep enough for the stock you plan to run.
For platen, cylinder and roll-to-roll work, the die needs to suit the press and the job. Magnesium, copper and brass dies each behave differently, so check what the job calls for before you fit it.
- Look for burrs, dents or damage on the face
- Check that the artwork is not too fine for the stock
- Make sure the die is mounted square and secure
- Confirm the image direction and position before locking up
Set up the make-ready
Make-ready controls how the die meets the stock. If the pressure is uneven, the foil will show it quickly, especially on coated board and other coated surfaces.
Build the packing in small steps and test often. The goal is even contact without crushing the sheet or overloading the press.
| Check | What to look for |
|---|---|
| Pressure | Even contact across the full image |
| Level | No rocking or side-to-side tilt |
| Impression | Clean transfer without overbite |
| Backing | Stable support under the die and stock |
If you need foil guidance for the stock, see Temperature windows explained and Choosing release profiles.
Clean before you run
Dust, adhesive build-up and old residue can spoil transfer before the press is even warm. Clean the die face, chase, platen area and any guides that touch the stock.
Keep cleaning gentle. Scratches and residue on the die surface can affect detail, especially on fine type and small lines.
- Remove loose dust and paper fibres
- Wipe away old adhesive or foil residue
- Check the surrounding press area for debris
- Inspect blankets, pads or packing for wear
If the job is on soft-touch laminate, review Foil on soft-touch before you start.
Test the press settings
Start with a sensible test range and build from there. Typical starting temperatures often sit around 90 to 140 degrees C, but the right point depends on the foil, the stock and the press.
Do not rely on one setting alone. Dwell, pressure and release profile all affect the final image, so adjust one variable at a time and keep notes.
- Warm up the press fully before testing
- Run short samples before the full batch
- Watch for incomplete transfer, blocking or over-release
- Check both the first pull and the last pull in the test set
For label work, see Narrow-web label tips. For pigments, see Matching Pantone with pigment foil.
Inspect the first sheet
Do not clear a job just because the first impression looks close. Check the first sheet, then check again after a few pulls, because heat build-up and pressure can change as the run settles.
Look closely at edges, solid areas and fine detail. On security foils, holographic work or leather applications, small setup errors may show up as poor release, dull spots or uneven detail.
If the test changes after a few sheets, stop and recheck the die, the make-ready and the press settings before continuing.
For more application support, go to leather stamping basics or return to Journal. For samples, swatch books and press-side advice, use the contact form.
What our Hot Stamping Foil customers say
Verified Google reviews
Also worth a look
Ask about a foil for your job
Send a note through our contact form with the substrate, the press you run (platen, cylinder or roll-to-roll), the finish you are after and the run length, and we will come back with a foil grade, a sample and a quote.
Open the contact form